
xnx xnx transmitter installation manual 2022
The XNX Transmitter is a universal platform supporting various sensors, offering modular inputs/outputs for flexibility. Designed for low maintenance, it simplifies operations across industries, ensuring reliable performance and safety.
1.1 Overview of the XNX Transmitter
The XNX Transmitter is a universal, modular platform designed to support a wide range of sensors and communication protocols. It offers flexibility with its interchangeable input and output modules, simplifying installation and maintenance. This transmitter is ideal for industrial applications, providing reliable gas detection and monitoring solutions. Its user-friendly interface and robust design ensure high performance in various environments, making it a versatile choice for safety and operational needs.
1.2 Key Features and Benefits
The XNX Transmitter offers modular inputs/outputs, reducing installation time and costs. It supports multiple communication protocols, including HART, Modbus, and Foundation Fieldbus, ensuring compatibility with various systems. Its digital processing and temperature compensation enhance accuracy. The transmitter’s low-maintenance design and user-friendly interface provide ease of operation. These features make it a reliable choice for industrial gas monitoring and safety applications, ensuring optimal performance and compliance with industry standards.

Safety Precautions and Warnings
Read and understand the manual before installing, operating, or maintaining the transmitter. Adhere to warnings to prevent electric shock and ensure safe operation. Security access levels apply.
2.1 General Safety Guidelines
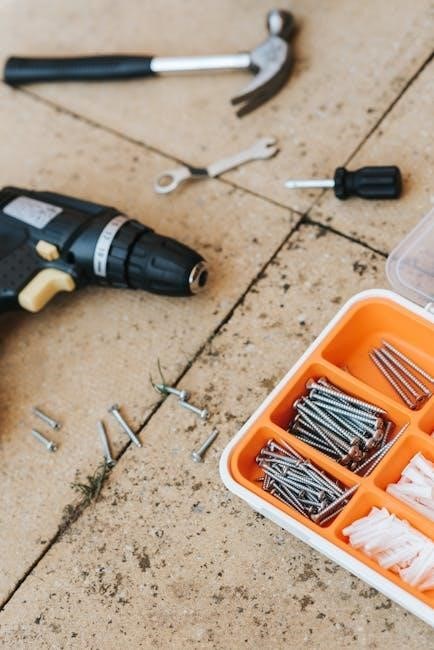
Read and understand this manual before installing, operating, or maintaining the XNX Transmitter. Adhere to all warnings and cautions to prevent potential hazards. Ensure proper handling of components, such as releasing cover locking screws with a 2mm hex key and carefully sliding the POD from the housing. Always follow industry standards and manufacturer instructions to avoid equipment damage or personal injury. Compliance is crucial for safe operation.
2.2 Electrical Safety Measures
Disconnect power before servicing the XNX Transmitter to avoid electric shock. Use insulated tools when handling live components. Ensure all circuits are de-energized and verified safe before starting work. Ground the system properly to prevent voltage spikes. If equipped with a Remote Mount Kit, secure the sensor to a fixed position to avoid damage. Always adhere to local electrical regulations and manufacturer guidelines for safe installation and operation.

Installation Process
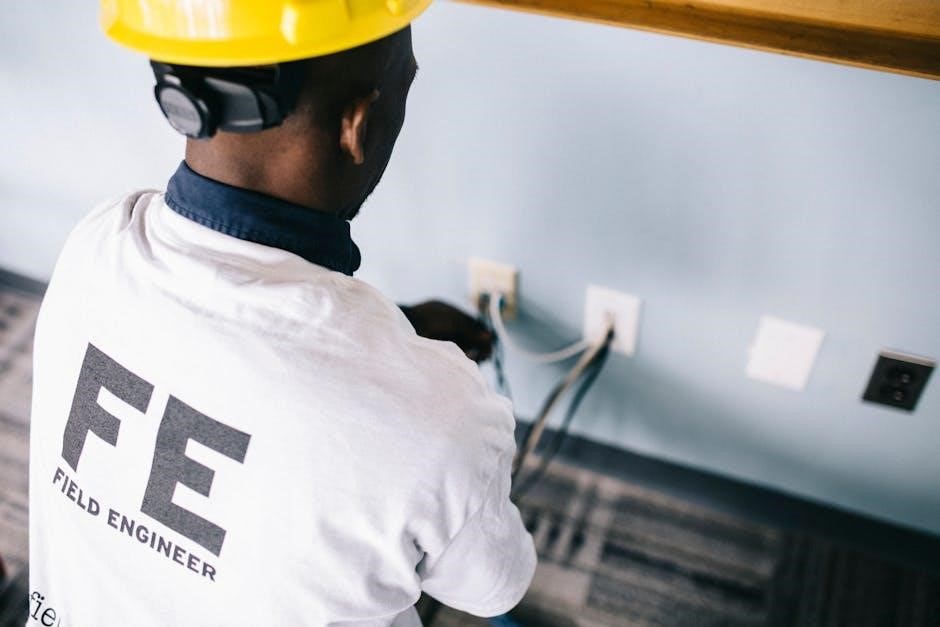
Mount the XNX Transmitter securely, ensuring proper alignment and clearance. Connect the power supply and optional Remote Mount Kit, following manufacturer guidelines for safe and reliable operation.
3.1 Pre-Installation Checks
Before installing the XNX Transmitter, verify all components are included and undamaged. Ensure the area meets environmental requirements and power supply is compatible. Review safety guidelines to prevent electric shock and ensure compliance with local regulations. Proper preparation ensures a smooth and safe installation process, minimizing potential issues during operation.
3.2 Mounting the Transmitter
Mount the XNX Transmitter in a secure, vibration-free location. Use the provided mounting hardware to ensure stability. If using the Remote Mount Kit, attach the sensor to a fixed position. Align the transmitter properly and tighten all fasteners securely. Ensure all clearances match the specified dimensions in the manual. Proper mounting is crucial for reliable operation and safety, preventing potential damage or electrical issues.
3.3 Connecting the Power Supply
Connect the XNX Transmitter to a 24V DC power supply, ensuring the power source meets the transmitter’s requirements. Disconnect power before performing any wiring to avoid electrical shock. Refer to the manual for specific wiring diagrams and connections. Secure all terminals tightly. The transmitter supports single or dual power supplies for redundancy. Always verify power connections before initializing the system to ensure safe and proper operation.

Configuration and Setup
The XNX Transmitter configuration involves setting communication protocols and security levels. Begin with initial steps like language selection and date/time adjustment, requiring security level 1. Advanced configurations, such as protocol settings, demand security level 2 access. Refer to the manual for detailed instructions and ensure all parameters align with operational requirements for optimal performance and safety.
4.1 Initial Configuration Steps
Begin by powering up the XNX Transmitter and navigating to the setup menu. Select the desired display language and adjust the date and time. Ensure security level 1 access for basic configurations. Refer to the user manual for detailed instructions to complete these initial steps successfully and prepare the transmitter for advanced settings.
4.2 Setting Up Communication Protocols
Configure the XNX Transmitter by selecting the desired communication protocol, such as Foundation Fieldbus, Modbus, or HART, via the setup menu. Adjust protocol-specific parameters like baud rate and device ID. Ensure security level 2 access for advanced configurations. Refer to the user manual for detailed protocol settings and confirm communication functionality with connected devices.

Calibration and Testing
Calibration ensures accurate measurements, while testing verifies functionality; Follow manual procedures to adjust settings and confirm transmitter performance under various operating conditions.
5.1 Calibrating the Transmitter
Calibration ensures the transmitter operates accurately. Access the calibration menu via the interface, select the appropriate option, and follow on-screen instructions. Use a certified Callibrator for precise adjustments. Reference the manual for specific procedures. Ensure the transmitter is powered down before starting. Wear protective gear and verify all connections are secure. Calibration is critical for maintaining measurement accuracy and reliability in various operating conditions.
5.2 Performing Functional Tests
Power up the transmitter and check status indicators for proper operation. Verify output signals align with expected values. Test communication protocols to ensure data transmission accuracy. Consult the manual for specific test procedures. Perform tests in a controlled environment, adhering to safety guidelines. Functional testing confirms the transmitter’s readiness for operation and ensures reliable performance in monitoring applications.
Troubleshooting Common Issues
Identify fault codes and refer to the manual for error resolution. Check connections and configurations. Perform diagnostic tests to isolate and resolve issues efficiently, ensuring optimal functionality.
6.1 Identifying Fault Codes
The XNX Transmitter displays fault codes on its LCD to indicate specific issues. Fault 152, for example, signals the need to configure the transmitter after adding or removing option boards. Refer to the manual for a detailed list of fault codes and their meanings. Use diagnostic screens to identify errors and follow guided steps to resolve them effectively, ensuring proper functionality and safety. Always consult the manual for accurate troubleshooting procedures.
6.2 Resolving Common Errors
Common errors on the XNX Transmitter can often be resolved by checking power connections and ensuring proper configuration. Fault 152, for example, requires configuring the transmitter to recognize new option boards. Resetting the device or updating firmware may also resolve issues. Always refer to the fault code list in the manual for specific troubleshooting steps. Persistent errors may require contacting Emerson support for assistance.
Maintenance and Updates
Regularly update firmware and software to ensure optimal performance. Perform routine checks on sensors and connections. Consult the manual for detailed maintenance procedures and support contact information.
7.1 Routine Maintenance Procedures
Regular maintenance ensures the XNX Transmitter operates efficiently. Inspect sensors and connections for wear or damage. Clean the transmitter housing and internal components as needed; Verify all electrical connections are secure. Check for firmware updates and install them promptly. Refer to the manual for specific procedures and recommended schedules to maintain optimal functionality and reliability.
7.2 Updating Firmware and Software
Regular firmware and software updates are crucial for maintaining the XNX Transmitter’s performance. Download the latest versions from the manufacturer’s website. Follow the installation guide to ensure a smooth update process. Backup configurations before updating to prevent data loss. Restart the transmitter after installation to apply changes. Ensure all security protocols are followed to maintain system integrity and functionality.

Compliance and Regulatory Considerations
Ensure the XNX Transmitter meets all industry standards and regulations. Compliance is critical for safe operation and to avoid legal or operational consequences.
8.1 Industry Standards and Regulations
The XNX Transmitter must comply with industry standards and regulations, including those set by Emerson, IEC, and ISA. Ensure installation adheres to local and international codes for safety and reliability. Compliance ensures proper functionality and avoids legal issues. Always refer to the latest guidelines for specific requirements.
8.2 Ensuring Compliance During Installation
Ensure compliance by following the XNX Transmitter manual, adhering to Emerson, IEC, and ISA standards. Properly install the Remote Mount Kit if used, securing the remote sensor to a fixed position. Always follow safety guidelines, ensure the remote sensor is securely mounted, and verify all connections are correct. Adhere to all warnings and cautions provided in the manual to meet regulatory requirements and ensure safe operation.
Environmental Considerations
The XNX Transmitter operates in temperatures from -40°C to 60°C and up to 95% humidity. Ensure proper storage and handling to maintain reliability and performance.
9.1 Operating Conditions and Limitations
The XNX Transmitter operates effectively in temperatures ranging from -40°C to 60°C and humidity up to 95%. It requires a power supply of 24V DC and must be installed in areas free from corrosive substances. Ensure compliance with environmental standards to maintain performance and longevity of the device. Always consult the manual for specific limitations and optimal operating conditions.
9.2 Handling and Storage Guidelines
Handle the XNX Transmitter with care to avoid physical stress or damage. Store it in its original packaging to prevent scratches or dents. Keep the device in a dry, clean environment, away from direct sunlight and corrosive substances. Ensure storage temperatures range between -40°C and 60°C to maintain optimal functionality. Avoid exposing the transmitter to extreme conditions or vibrations during transit or storage.
User Resources and Support
Access comprehensive support through the official XNX Transmitter manual, downloadable online. Contact manufacturer support for technical assistance or troubleshooting. Additional resources include FAQs and user guides.
10.1 Accessing the User Manual
The XNX Transmitter user manual is available for download online, providing detailed instructions for installation, operation, and maintenance. Ensure to review safety precautions, installation steps, and configuration guidelines thoroughly. The manual also includes troubleshooting tips and compliance information. Regularly check for updates to ensure you have the latest version of the document for optimal functionality and safety.
10.2 Contacting Manufacturer Support
For technical assistance or inquiries, contact the manufacturer’s support team via phone, email, or through the official website. A dedicated support portal offers resources like FAQs, troubleshooting guides, and software updates. Ensure to have your transmitter model and serial number ready for efficient support. Additionally, regional offices provide localized assistance, guaranteeing prompt resolution to any issues.
The XNX transmitter installation is complete. Review all steps, verify functionality, and ensure compliance with safety standards for optimal performance and future maintenance.
11.1 Reviewing the Installation Process
Ensure all installation steps are completed correctly, including mounting, power supply connection, and configuration. Verify that the transmitter is properly secured, and all electrical connections are tight. Check for any error messages or fault codes during startup. Confirm that the device operates within specified parameters and that all safety precautions have been followed. Consult the manual or manufacturer support for any unresolved issues.
11.2 Final Verification of Transmitter Functionality
After completing the installation, perform a thorough functionality test to ensure the transmitter operates correctly. Check sensor readings, communication protocols, and alarm settings. Run diagnostic tests to verify accuracy and responsiveness. Confirm that all data is accurately transmitted and recorded. Ensure proper communication with connected devices and review error logs for any issues. Final verification ensures reliable performance and adherence to operational requirements.