
basic granny square crochet pattern pdf
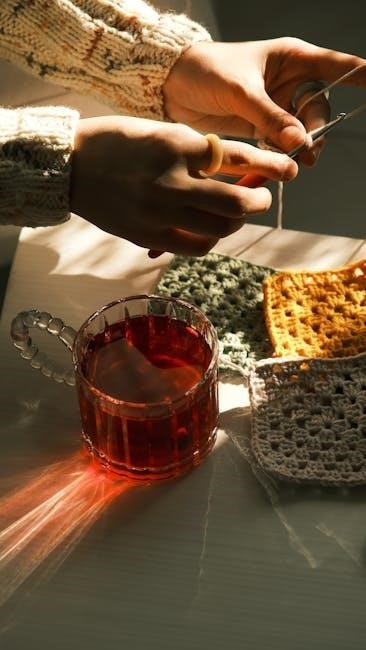
The basic granny square is a timeless crochet pattern, perfect for beginners and experienced crafters alike․ Its simplicity and versatility make it a cornerstone of crochet, allowing for endless creativity and customization․ Whether you’re creating a blanket, pillow, or decorative item, the granny square is a classic choice that never goes out of style․ With its easy-to-follow stitches and adaptable design, it’s a great way to explore crochet while producing beautiful, functional pieces․
Materials and Tools Needed
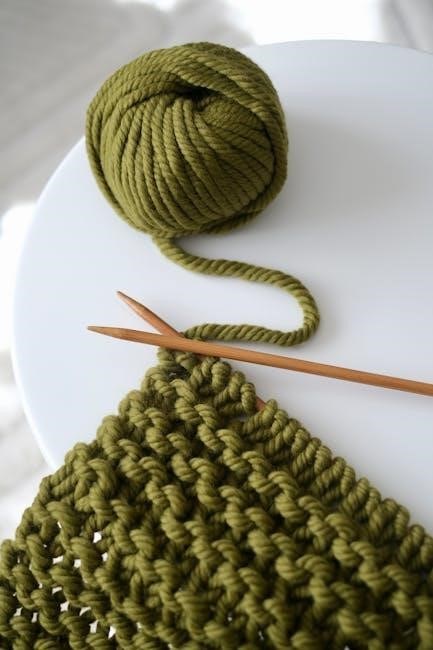
To create a basic granny square, you’ll need a few essential materials and tools․ Start with medium-weight acrylic yarn, which is durable and easy to work with․ Choose a crochet hook in size H (5mm) or I (5․5mm), depending on your tension․ A yarn needle is necessary for weaving in ends, and sharp scissors are handy for cutting the yarn․ Stitch markers can be helpful for keeping track of your place in the pattern․ Use worsted-weight yarn for a classic look, or experiment with different colors and textures for a unique design․ Ensure your materials are of good quality to achieve a professional finish․ These tools and materials are affordable and widely available, making the granny square accessible to crafters of all skill levels․ With these basics, you’re ready to start your crochet journey and create something beautiful and meaningful․
Step-by-Step Guide to the Basic Granny Square
The basic granny square is a simple, three-round pattern that begins with a foundation chain and builds up with chain and double crochet stitches․ It’s a classic design that teaches essential crochet skills, perfect for beginners and experienced crafters alike․ Follow the rounds to create a versatile square that can be used in various projects, from blankets to home decor․ This timeless pattern is a great way to practice stitches and color changes while creating something beautiful and functional․
Round 1: Foundation and Initial Stitches
Round 1 sets the foundation for your granny square․ Begin by creating a magic ring or a foundation chain of four stitches․ Insert your crochet hook into the ring and work a chain of three, which counts as the first treble crochet stitch․ Then, crochet two double crochet stitches into the ring․ Continue by working three more treble crochet stitches, followed by a chain of one to create a corner․ Repeat this pattern, ensuring you complete three treble crochets and a chain for each corner․ End the round by slip stitching into the third chain of your initial chain to join the stitches․ This round establishes the square’s shape and prepares it for further expansion․ Keep your tension even to ensure a neat and flat foundation․ Properly closing the round is essential for a professional finish․ This step is crucial for maintaining the square’s structure as you progress to subsequent rounds․
Round 2: Expanding the Square
Round 2 builds on the foundation established in Round 1, expanding the square and adding texture․ Start by chaining three stitches (counting as the first treble crochet) and working clusters of treble crochets into each corner space from Round 1․ In each corner, crochet three treble crochets, then chain one to create a new corner․ Continue this pattern around the square, ensuring you maintain even spacing and tension․ As you work, keep the stitches consistent to avoid puckering or loose fabric․ This round introduces the classic granny square texture, with its signature clusters and chain spaces․ Pay attention to maintaining the square’s shape by ensuring each corner is clearly defined․ Properly aligning the stitches in this round is key to achieving a balanced and professional-looking granny square․ By the end of Round 2, the square will have grown in size, and the pattern will begin to take its iconic form․
Round 3: Completing the Square
Round 3 is the final step in creating the basic granny square, where the square is completed and the edges are neatly defined․ Begin by chaining three stitches (counting as the first treble crochet) and work clusters of treble crochets into each corner space from Round 2․ In each corner, crochet three treble crochets, then chain one to create a new corner․ Continue this pattern around the square, ensuring you maintain even spacing and tension․ This round solidifies the square’s shape and texture; Pay particular attention to the last corner, where you will slip stitch to join the round seamlessly․ To finish, chain one and crochet a single crochet around the edges to create a clean border․ This step ensures the square lies flat and prepares it for joining or further embellishments․ Properly completing Round 3 results in a crisp, professional-looking granny square ready for your next project․
Tips for Perfecting Your Granny Square
Maintain even tension to ensure a flat, professional finish․ Use stitch markers to keep track of corners and rounds․ Practice seamless color changes for a polished look, and always count your stitches to avoid mismatches․
Mastering Color Changes Seamlessly
Mastering color changes is essential for creating vibrant and professional-looking granny squares․ To achieve seamless transitions, always work the last stitch of the old color, then join the new color by pulling it through the loop on the hook․ This prevents loose ends and visible knots․ For multi-color squares, carry the yarn across the back of the work, securing it tightly to avoid bulkiness․ Use stitch markers to keep track of color changes and maintain even tension to ensure the square lies flat․ A reversible design is key, so ensure that color changes are neat on both sides․Practice this technique to create sharp, clean transitions that enhance your granny square’s beauty and durability․ This skill is especially useful for intricate patterns and multi-colored designs, making your projects truly stand out․
Achieving a Reversible Design
Achieving a reversible design in your granny square ensures that both sides of the fabric look equally polished and professional․ To accomplish this, focus on maintaining consistent tension and neat stitches throughout your work․ When changing colors, ensure the yarn tails are securely woven in and not visible on either side․ Use stitch markers to keep track of your rounds and maintain symmetry, which is crucial for a reversible design․ To prevent twisting, always join rounds in the same spot and keep the fabric lying flat as you work․ A reversible granny square is perfect for projects like blankets or pillow covers, where both sides will be visible․ By paying attention to these details, you can create a granny square that is not only beautiful but also functional and visually appealing from every angle․
History and Evolution of Granny Squares
Granny squares have been a cornerstone of crochet since the 1970s, when they first gained widespread popularity․ Originating as a practical way to create warm blankets and home decor, these squares quickly became a symbol of handmade craftsmanship․ Over the decades, the basic granny square pattern has evolved from simple, repetitive designs to more intricate and creative variations․ Initially, they were made using leftover yarn scraps, reflecting a thrifty and resourceful approach to crafting․ Today, granny squares are celebrated for their versatility, with designers experimenting with colors, stitches, and layouts to produce unique and modern interpretations․ Despite their evolution, the traditional granny square remains a beloved classic, often passed down through generations as a timeless crochet staple․ Its enduring appeal lies in its accessibility to crafters of all skill levels, making it a foundational project that continues to inspire creativity and innovation in the crochet community․

Resources for Further Learning
For those looking to dive deeper into the world of granny squares, there are countless resources available․ Websites like iStock offer royalty-free crochet images and patterns, while blogs and crochet communities provide step-by-step tutorials and free PDF downloads․ Many designers share detailed instructions, including tips for mastering color changes and achieving reversible designs․ Video tutorials are also widely available, offering visual guidance for beginners․ Additionally, platforms like Pinterest and Ravelry host extensive collections of granny square patterns, ranging from classic to modern interpretations․ Books and online courses further expand your skills, covering advanced techniques and creative variations․ Whether you prefer written instructions, charts, or visual demonstrations, there’s a wealth of resources to help you refine your granny square crochet skills and explore new creative possibilities․