
singer sewing machine owners manual
Welcome to the Singer Sewing Machine Owner’s Manual! This comprehensive guide provides detailed instructions for setup, operations, maintenance, and troubleshooting. Explore accessories and tips to enhance your sewing experience. Read carefully to optimize your machine’s performance;

Key Sections of the Singer Sewing Machine Owner’s Manual
This manual includes essential sections: setup and installation, basic operations, maintenance tips, accessories, and troubleshooting. Each part is designed to help you understand and optimize your sewing machine’s performance effectively.
1.1 Setup and Installation Guide
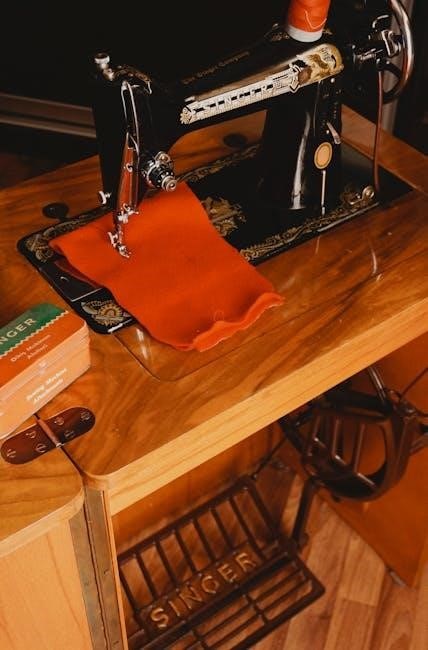
Setting up your Singer sewing machine is straightforward with the provided guide. Begin by carefully unboxing and placing the machine on a stable surface. Ensure all accessories, such as bobbins and needles, are accounted for. Follow the step-by-step instructions to assemble any detachable parts, like the sewing table or extension arms. Threading the machine is a critical step; refer to the diagrams for proper thread routing. Oiling, if required, should be done as specified to prevent damage. Finally, test the machine by sewing a scrap fabric to ensure smooth operation. Always use genuine Singer parts for optimal performance. This section ensures your machine is ready for seamless sewing experiences. Refer to the manual for model-specific instructions and troubleshooting common setup issues. Proper setup is key to achieving professional results.
1.2 Basic Operations and Controls
Mastering the basic operations and controls of your Singer sewing machine is essential for a seamless sewing experience. Start by familiarizing yourself with the control panel, which includes the power switch, stitch selection dial, and speed control. Always ensure the machine is properly threaded and the bobbin is correctly inserted. Choose the appropriate stitch type based on your fabric, whether it’s straight, zigzag, or decorative. Adjust the tension dials to achieve balanced stitching. Use the foot pedal to control sewing speed, maintaining steady, even movement. For reverse stitching, engage the reverse lever to secure seams. Regularly check and replace needles to prevent breakage. Refer to the stitch guide for optimal settings. Practice on scrap fabric to test stitches and tension before working on your project. Understanding these controls will help you navigate various sewing tasks with confidence and precision.
1.3 Maintenance and Troubleshooting Tips
Proper maintenance and troubleshooting are crucial to ensure your Singer sewing machine operates smoothly. Regularly clean the machine by removing lint and debris from the bobbin area and feed dogs using a soft brush. Lubricate moving parts as recommended in the manual to prevent friction and wear. Check for loose screws or belts and tighten them if necessary. If thread breaks frequently, inspect for tangled thread or incorrect tension settings. For jams, turn off the machine, gently remove the fabric, and rethread. Replace needles every 8 hours of use or at the first sign of damage. If error codes appear, consult the manual for specific solutions. Always use genuine Singer needles and compatible parts to maintain performance. Keep the machine covered when not in use to protect it from dust. By addressing issues promptly and following these tips, you can extend the life of your Singer sewing machine and ensure reliable performance.
1.4 Accessories and Parts Compatibility
Ensuring compatibility with genuine Singer accessories and parts is essential for optimal performance. Use only Singer-approved needles, bobbins, and presser feet to maintain quality and prevent damage. Check compatibility with your machine model, as some accessories are designed for specific features. For example, zipper feet or quilting feet can enhance functionality but must match your machine’s specifications. Regularly update your machine with Singer-recommended software or firmware if applicable. When replacing parts, refer to the manual for part numbers and descriptions to ensure accuracy. Genuine Singer parts are designed to meet strict quality standards, minimizing the risk of malfunctions. Avoid using generic or third-party accessories that may void your warranty or cause operational issues. Always purchase from Singer-authorized retailers or the official Singer website to guarantee authenticity. By using compatible accessories, you can maximize your sewing machine’s potential and extend its lifespan. Consult the manual for a detailed list of recommended accessories tailored to your model.
Maintenance and Care for Your Singer Sewing Machine
Regularly clean and lubricate your Singer sewing machine to ensure smooth operation. Replace needles and parts as needed. Use genuine Singer accessories for optimal performance and longevity. Schedule professional servicing annually for advanced care.
2.1 Cleaning the Machine
Cleaning your Singer sewing machine regularly is essential to maintain its performance and extend its lifespan. Start by turning off and unplugging the machine. Remove any fabric or thread, and take out the bobbin and needle. Use a soft brush or compressed air to gently sweep away lint, dust, and debris from the bobbin area, tension discs, and stitch plate. Avoid using liquids or harsh chemicals, as they can damage the machine’s finish or internal components. For stubborn lint, a small, dry cotton swab can be used to clean tight spaces. After cleaning, carefully oil the machine according to the manual’s instructions to ensure smooth operation. Regular cleaning prevents thread breakage, jamming, and uneven stitching. Always refer to your Singer sewing machine manual for specific cleaning recommendations tailored to your model. Consistent maintenance will keep your machine running efficiently for years to come.
2.2 Lubricating the Machine
Lubricating your Singer sewing machine is crucial for smooth operation and preventing mechanical wear. Always use high-quality sewing machine oil, as specified in your manual. Turn off and unplug the machine before lubricating. Apply a few drops of oil to the moving parts, such as the shuttle hook and gear areas, following the manual’s instructions. Avoid over-lubricating, as excess oil can attract dust and dirt, leading to potential issues. Gently run the machine for a few minutes to allow the oil to distribute evenly across the internal components. Regular lubrication ensures reduced friction, quieter operation, and extended machine lifespan. For older models, like the Singer 221-1 Featherweight, consistent lubrication is especially important to maintain their vintage performance. Refer to your Singer sewing machine manual for specific lubrication points and frequency recommendations to keep your machine running seamlessly. Proper lubrication is a simple yet vital step in caring for your sewing machine.
2.3 Replacing Needles and Other Parts
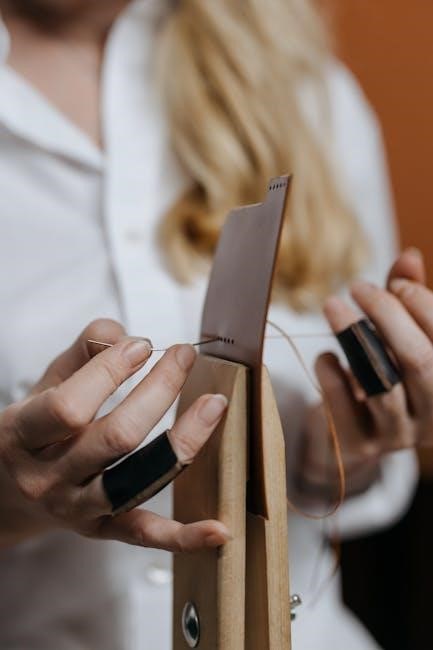
Regularly replacing needles and other parts is essential for maintaining your Singer sewing machine’s performance. Always use genuine Singer needles for optimal results and to prevent damage. Needles should be replaced every 1-2 garments or immediately if they show signs of wear, such as bending or breakage. To replace the needle, turn off the machine, lift the presser foot, and carefully remove the old needle using the needle clamp; Insert the new needle, ensuring it’s securely fastened; For other parts, like bobbin cases or feed dogs, refer to your manual for compatibility and installation instructions. Proper replacement ensures smooth stitching and prevents mechanical issues. Remember to check and replace parts periodically to keep your machine running efficiently. Always prioritize genuine Singer accessories to maintain your machine’s quality and longevity. Consult your manual for specific guidance on replacing parts for your model.
Troubleshooting Common Issues
Identify symptoms like thread breakage or uneven stitching. Check thread quality, bobbin alignment, and tension settings. Consult the manual for error codes and solutions. Regular maintenance and genuine parts prevent most issues.
3.1 Common Sewing Machine Problems
Common issues include thread breakage, uneven stitching, and machine jamming. Improper threading or low-quality thread often cause these problems. Ensure the bobbin is correctly seated and tension settings are balanced. Regular lubrication of mechanical parts prevents friction-related issues. Using genuine Singer needles reduces the risk of breakage and ensures consistent stitches. If the machine is unthreading, check for weak or damaged thread and rethread following the manual’s guide. Jamming may occur due to incorrect fabric feeding or accumulated lint inside the machine. Cleaning the machine regularly and using compatible accessories can prevent many of these issues. Always refer to the manual for specific troubleshooting steps tailored to your Singer model.
3.2 Understanding Error Codes
Modern Singer sewing machines often display error codes to indicate specific issues. These codes, such as “E1” or “E2,” are designed to help users quickly identify and resolve problems. Referencing the manual is essential, as it provides a detailed list of codes and their corresponding solutions. Common errors include issues with thread tension, bobbin placement, or mechanical malfunctions. For example, an “E1” error may indicate improper threading, while “E2” could signal a jammed bobbin area. Always power off the machine and unplug it before attempting repairs. Cleaning the machine and checking for lint buildup can often resolve these issues. If error codes persist, consult the troubleshooting section or contact Singer support. Using genuine Singer parts ensures compatibility and reduces the likelihood of errors. Keep the manual handy for quick reference to maintain smooth operation and extend the machine’s lifespan.